Today I am going to show you how to create wordpress website. To create website using wordpress you need to install XAMPP server and wordpress.
 |
| How to install wordpress on localhost xampp |
How to install wordpress on localhost xampp
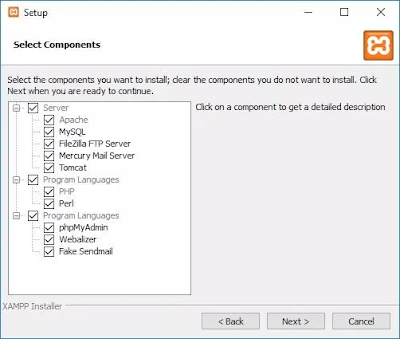
To use wordpress you need to download following packages.Install XAMPP server on Windows
After downloading, first you have to install XAMPP server. We do not create wordpress websites without xampp server.
Because wordpress based on PHP and with out xampp server we can not run PHP code as well as database (MySQL).
Because wordpress based on PHP and with out xampp server we can not run PHP code as well as database (MySQL).
Once you have installed the XAMPP server just start the following services.
- Apache
- MySQL
Use Wordpress with XAMPP server
Just go to the path where you have downloaded the wordpress, remember its in zip file. Extract that file and place it in the "htdocs" folder in your XAMPP location like below path.
C:\xampp\htdocs
What is htdocs
htdocs is a folder located in XAMPP, contains your wordpress site data. For example if you have multiple wordpress sites that just extract the wordpress zip file in htdocs folder and rename the extracted wordpress file name to your website name. In this tutorial I will rename the file, of my blog name "learnopenerp".
The above folder contain following files, that will contain our wordpress website data.
Now that we have just extracted the wordpress and not installed yet. To do that first we have to create database, that contain our wordpress website data. To create database just move on to the Chrome browser and paste following URL.
https://localhost/phpmyadmin/
You will see following window, just create a new database with your website name or give any name you want. Remember you have just one database for one wordpress site, if you have multiple site than set a new database for that site.
Now its time to configure our wordpress site, to do that use below URL to open your newly created website named "learnopenerp".
https://localhost/learnopenerp/
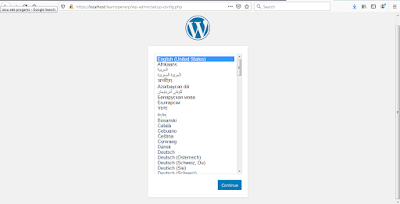
Select language of your website as English (United States) and press continue button.
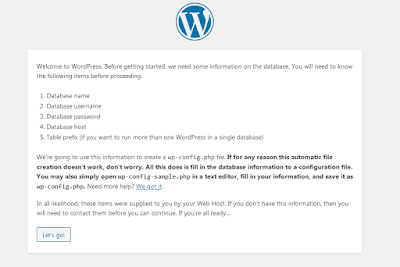
Now click on Let's go button to configure your database information.
Set database name which you have created in above steps. User name must be root if you are working in localhost. Just leave the password empty for the time being. And rest of the settings should be set as by default, you don't need to modify that. Now click on "Submit" button to move further.
Now click on "Run the Installation" button, when you have setup your database configuration this will create almost twelve tables with wp_ prefix in your created database named "learnopenerp".
Fill above form according to your website and give your email address. Than click on "Install Wordpress" button.
You have installed wordpress successfully yahoooo.... Now click on "Login" button.
Remember your wordperss website has been divided into two parts.
- Your Website it self (https://localhost/learnopenerp)
- Your admin panel (https://localhost/learnopenerp/wp-admin/)
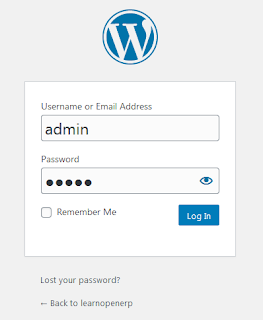
Give your login credentials in my case its admin and click on login button.
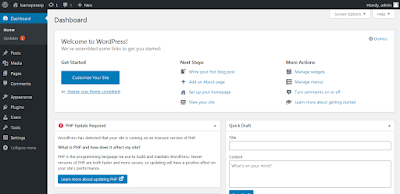
After login you will be move on wordpress admin panel, you can also called dashboard. From that dashboard you can manage your wordpress website as an admin. Now its time to view our first newly created wordpress website. To do that just go the below URL.
https://localhost/learnopenerp/
Its looking very simple, in my next post you will learn how to install wordpress theme.
Don,t forgot to share, keep sharing keep learning








1 Comments
"Thank you for breaking this down so well! This post is truly valuable."
ReplyDelete